

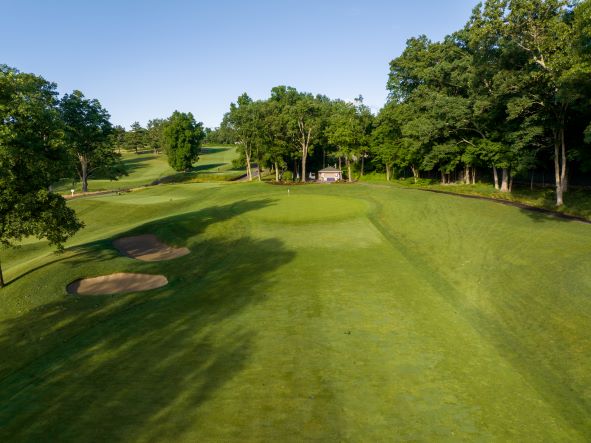
Hole #1 Yardages
|
Black
BlueWhite Green Gold |
424 420 415 330 323 |
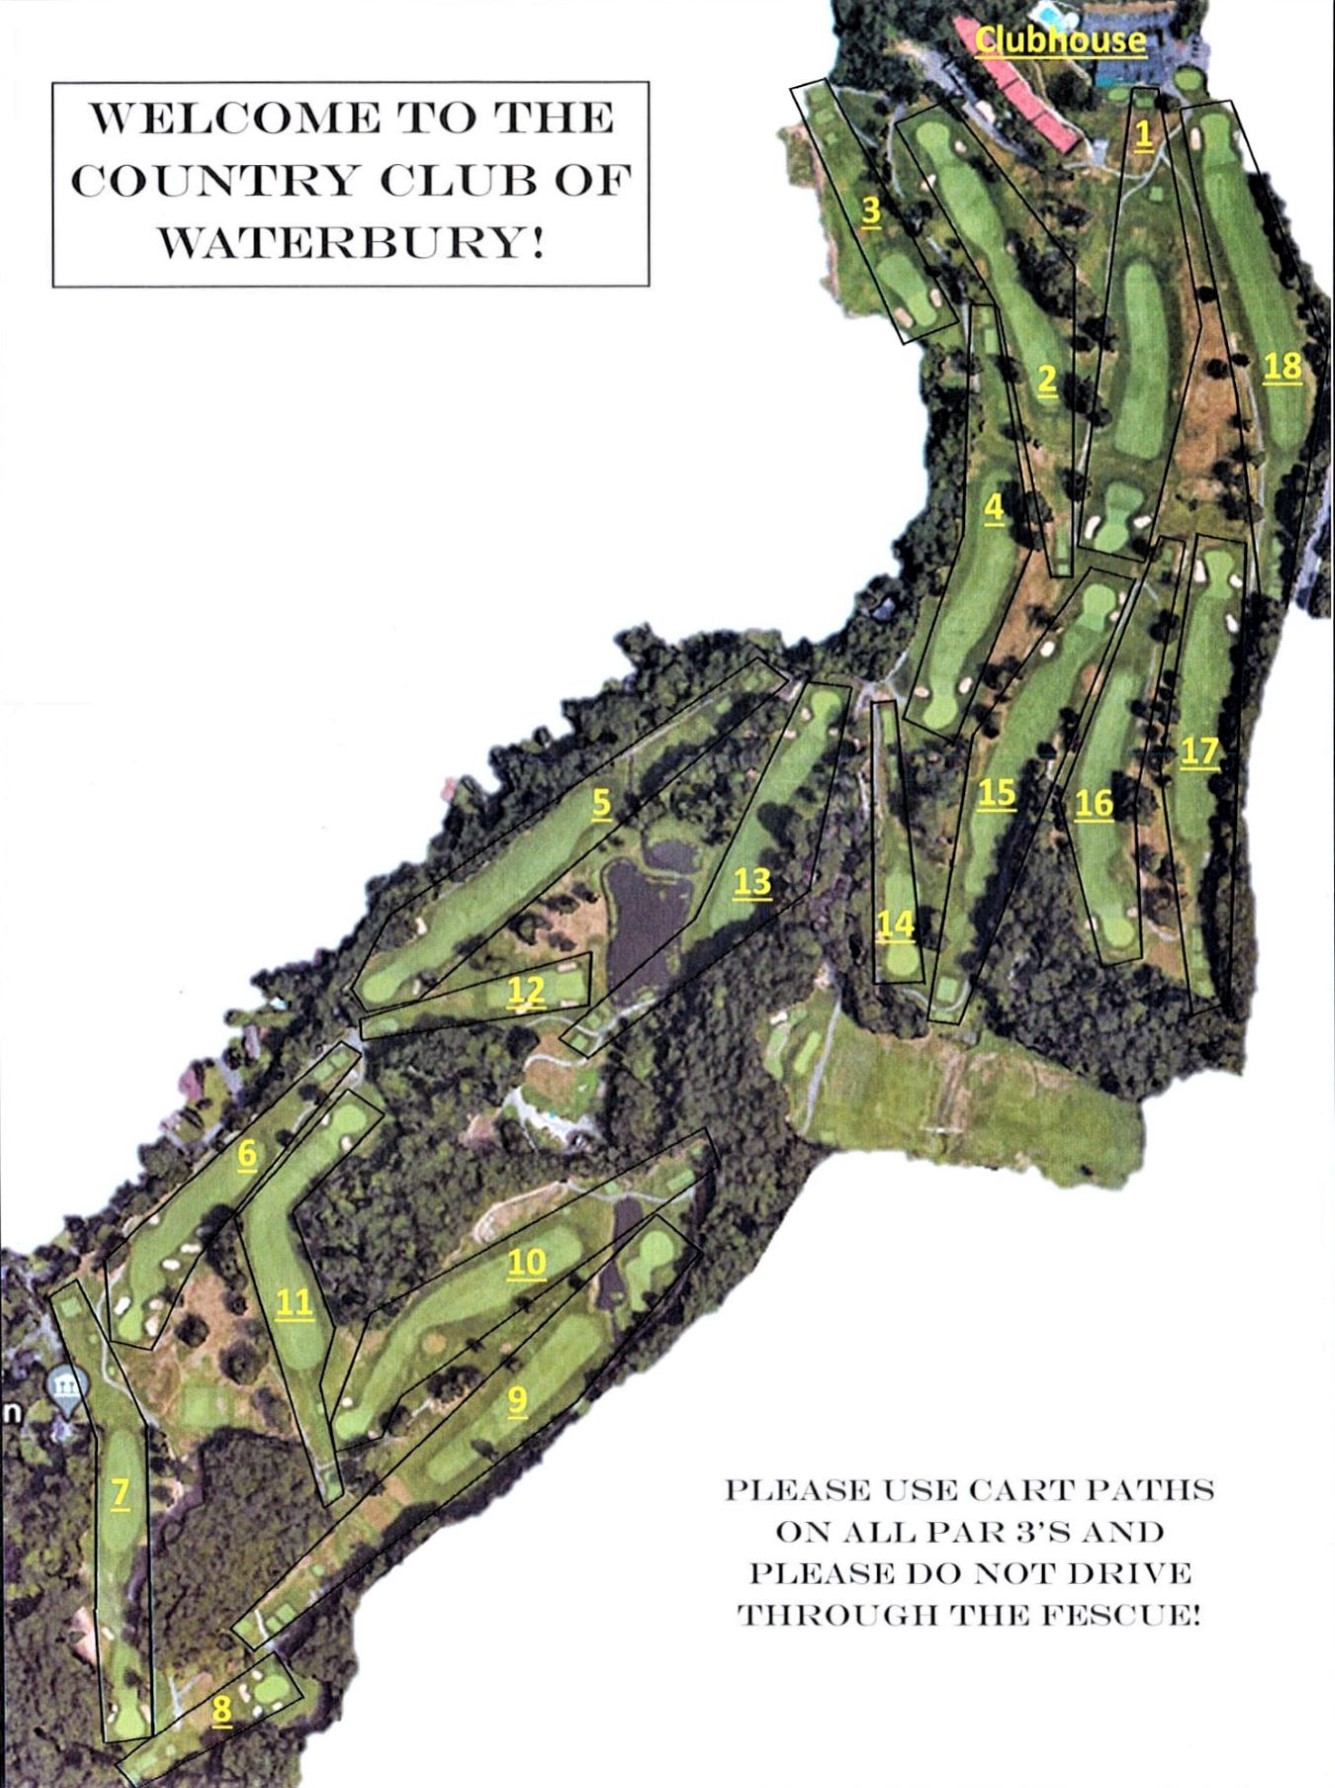
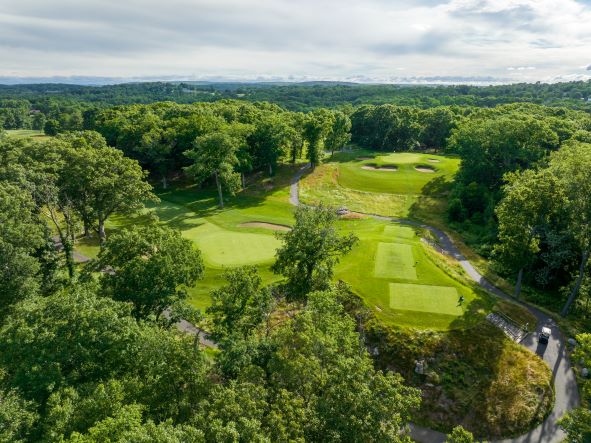
With its elevated tee and panoramic views, the 1st hole serves as a thrilling introduction to the course. A drive that strays left might bounce off the hill towards the fairway or could find the native fescues. A shot to the right off the tee finds nothing but trouble in the trees that separate the 1st and 2nd holes.
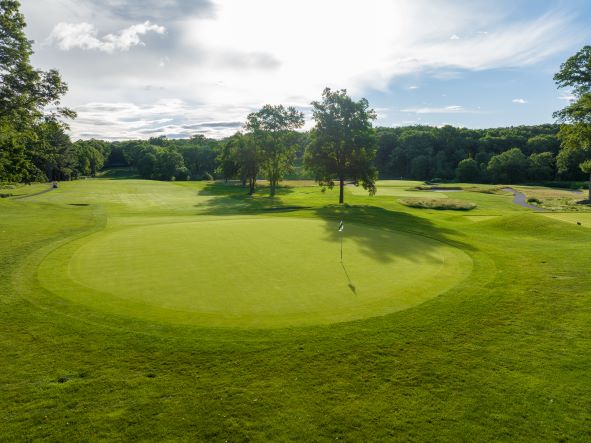
Hole #2 Yardages
|
Black
BlueWhite Green Gold |
443 420 405 370 370 |
Called by 5-time state amateur champion Dick Siderowf "the best par 4 in the state", the 2nd hole may be Ross's greatest contribution to the Waterbury layout. A sweeping dogleg left leads to an elevated green with a false front.

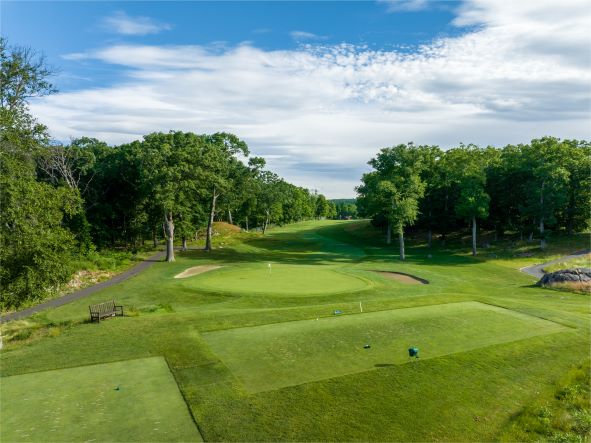
Hole #3 Yardages
|
Black
BlueWhite Green Gold |
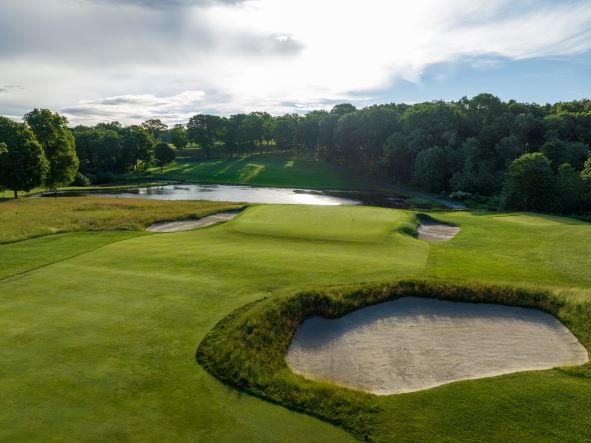
230 221 204 185 180 |
A long downhill Par 3 with a narrow green provides a challenge with bunkers biting in from each side. The preferred method of playing the hole, even for low handicappers, is to hit short of the green in the approach in hopes of pitching or putting it close.
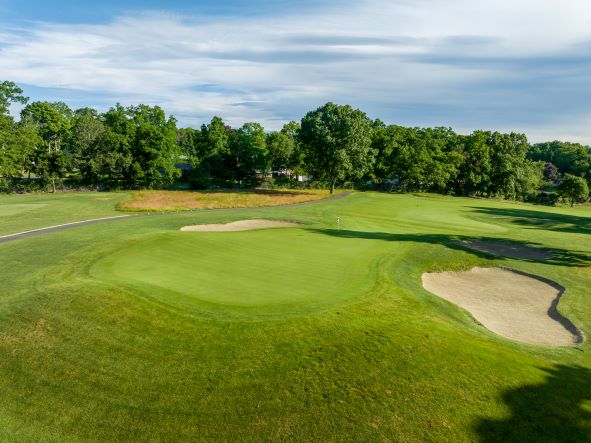
Hole #4 Yardages
|
Black
BlueWhite Green Gold |
392 382 360 307 302 |
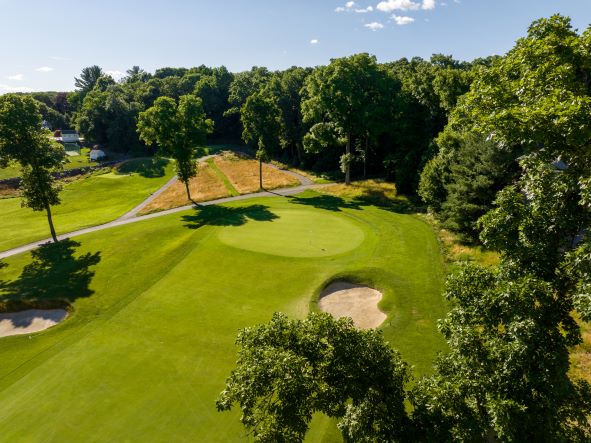
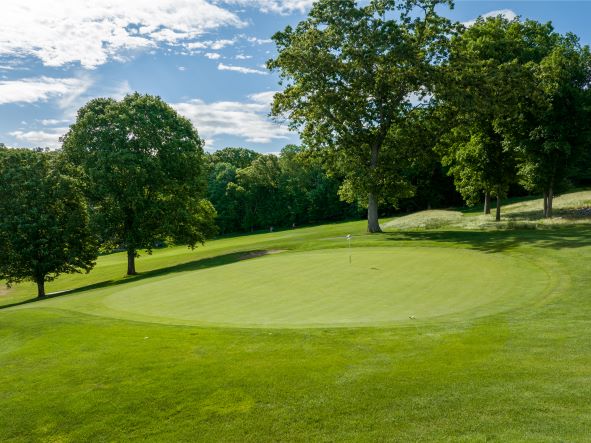
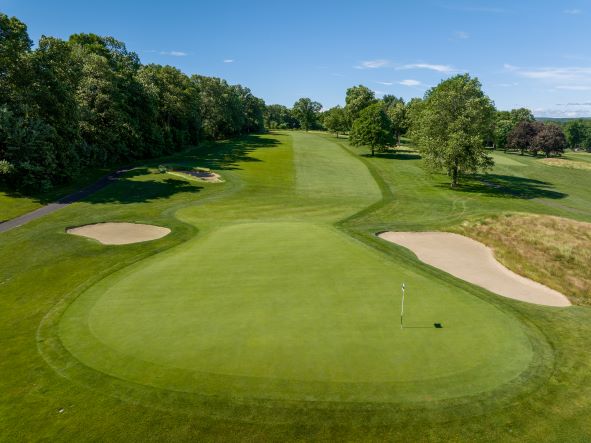
The short uphill Par 4 requires a left to right tee shot to an elevated green. Beware of the false front on this hole as a shot that comes up short could leave you 30 yards from the green.
Hole #5 Yardages
|
Black
BlueWhite Green Gold |
476 456 425 309 309 |
Although the hole looks relatively flat from the tee, the 5th hole plays slightly uphill. The long straight away Par 4 requires a precise shot off the tee. A hybrid or long iron is usually the club of choice for the second shot to a green with little undulation.

Hole #6 Yardages
|
Black
BlueWhite Green Gold |
311 305 298 289 289 |
The shortest Par 4 on the course, the 6th is no hole to let up on. The 4 fairway bunkers require a tee shot that splits the fairway. The short, uphill second shot to a well-guarded green can turn the thought of a birdie into a bogie.
Hole #7 Yardages
|
Black
BlueWhite Green Gold |
424 409 404 365 337 |
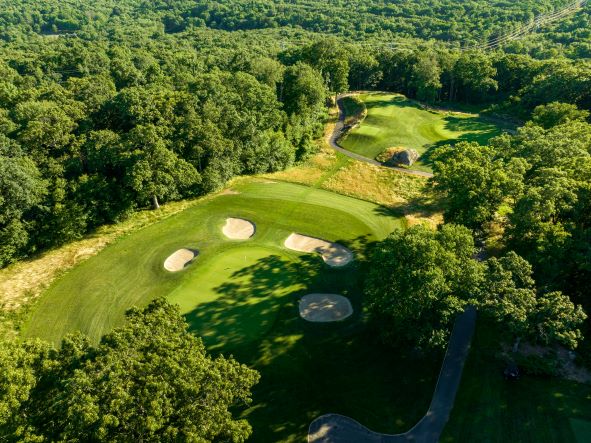
To the eye, the 7th is the toughest driving hole on the course. A left to right tee shot is required, but a drive that is struck too well could put you in the rough between the upper and lower fairway. A long second shot to a green guarded with bunkers on either side proves that this Par 4 has seen more bogies than pars.
Hole #8 Yardages
|
Black
BlueWhite Green Gold |
153 147 134 111 107 |
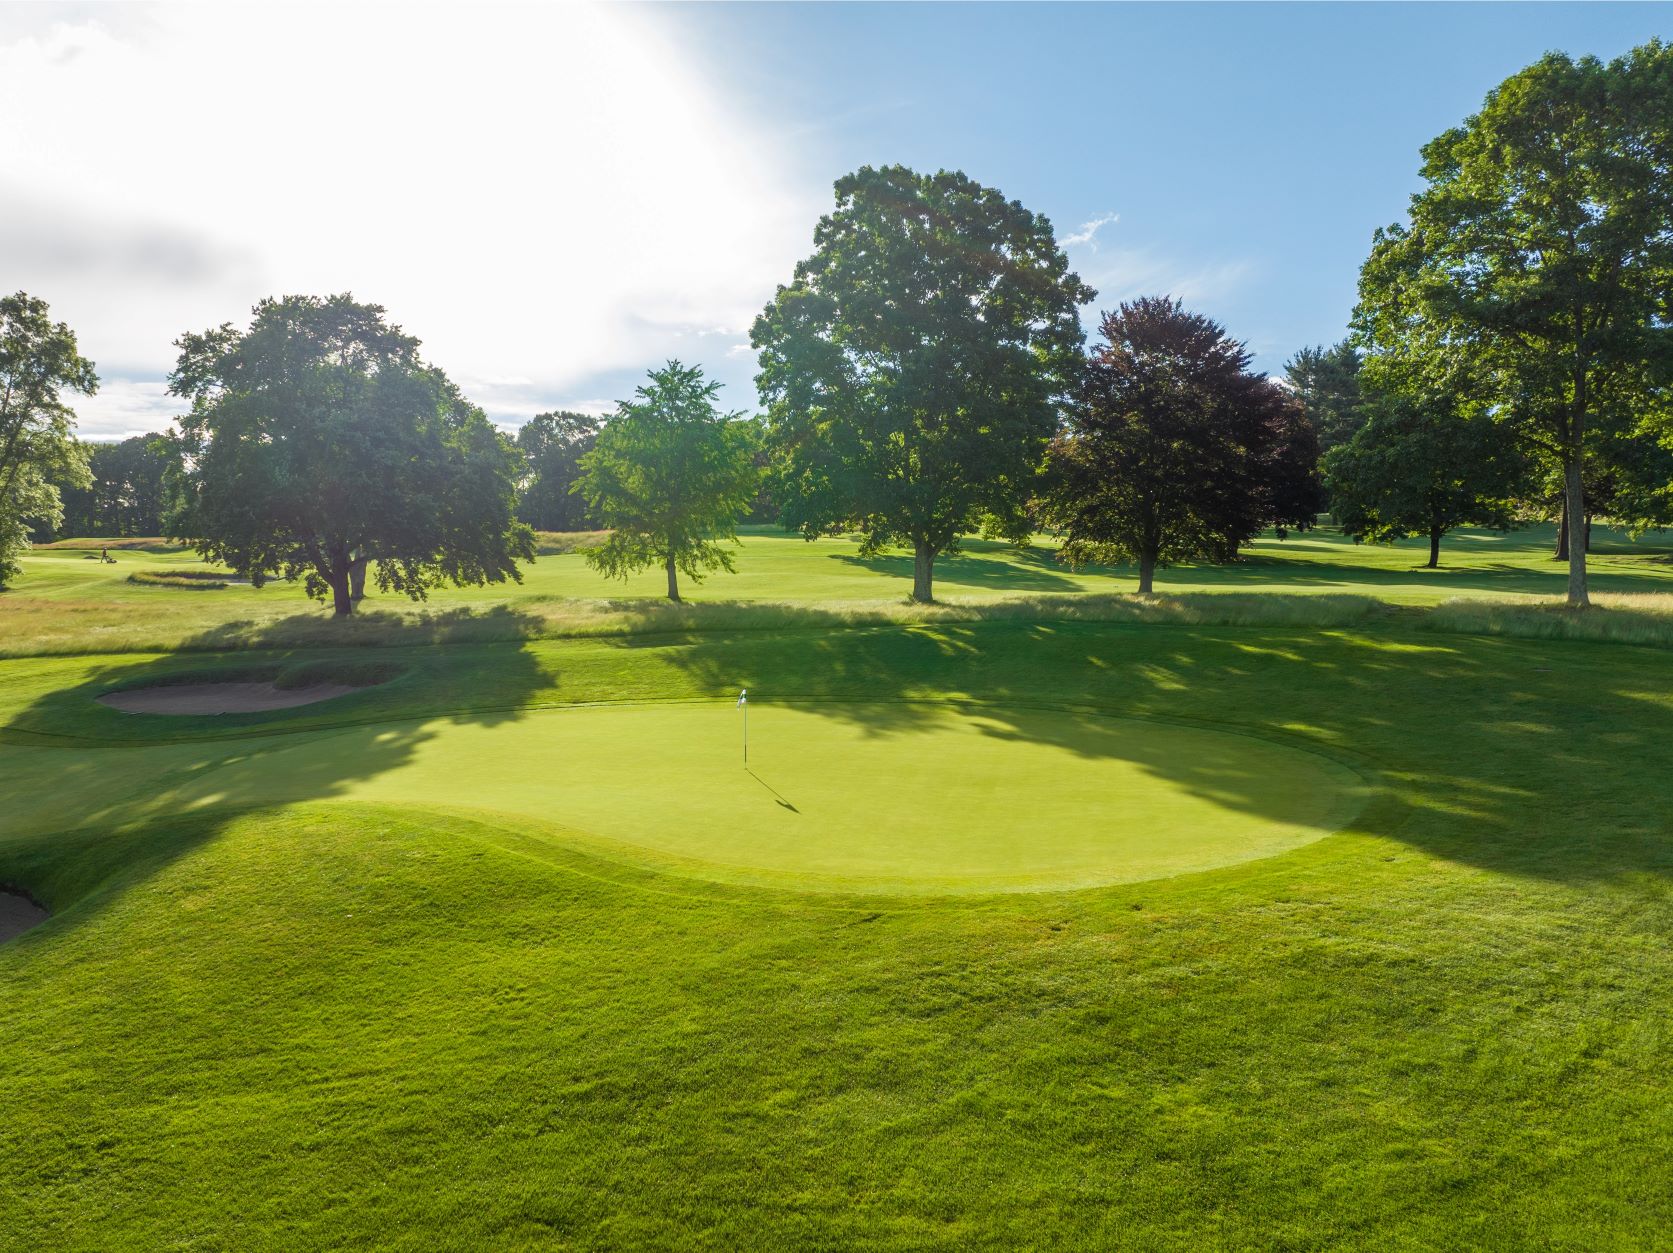
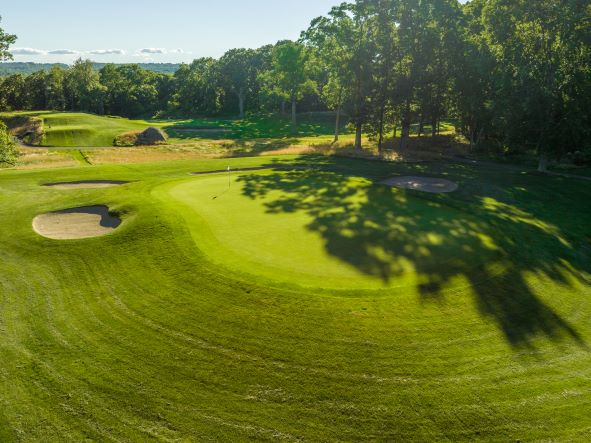
The shortest Par 3 on the course, the 8th hole is a Donald Ross gem. The small undulating green is surrounded by 4 bunkers. Ross noted that he wanted the two front bunkers to be cut between 4 & 6 feet deep.
Hole #9 Yardages
|
Black
BlueWhite Green Gold |
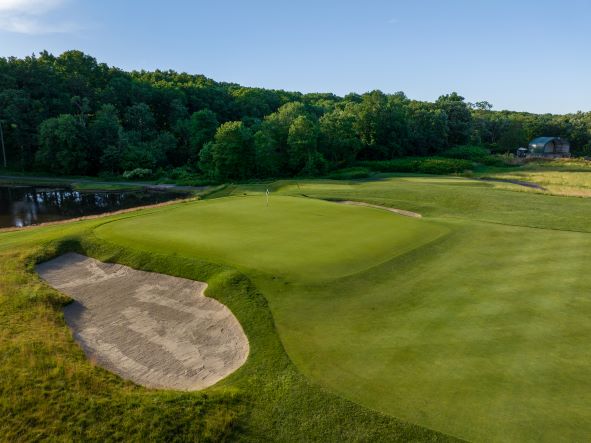
516 487 473 427 427 |
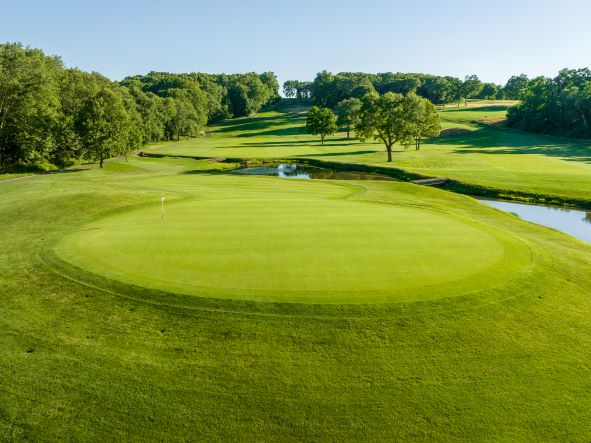
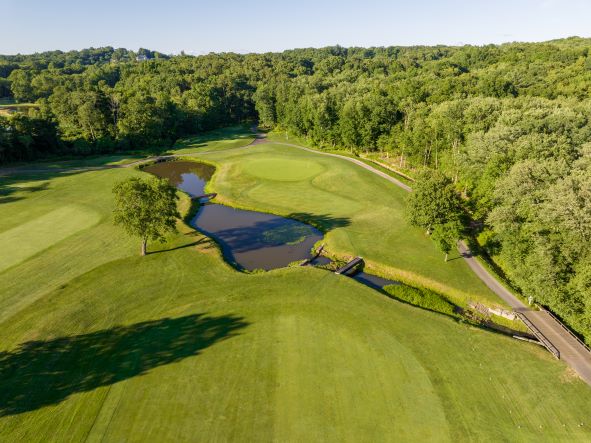
With #9 being the only Par 5 on the course, this is the perfect opportunity to make up a shot lost earlier in the round. This hole represents the "risk/reward" of a short par 5. A well placed drive invites the question: Do I go for the green in two or lay up short of the water?

Hole #10 Yardages
|
Black
BlueWhite Green Gold |
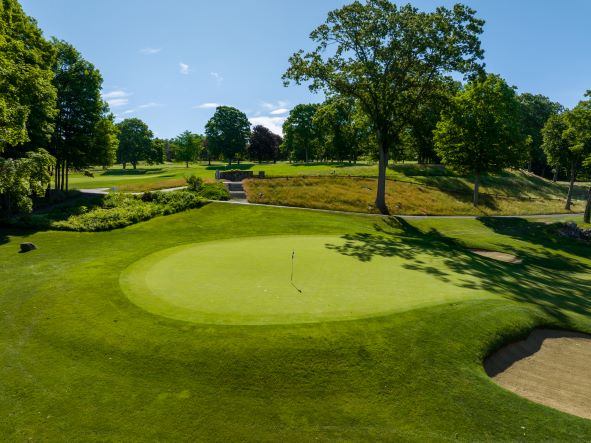
407 383 375 326 282 |
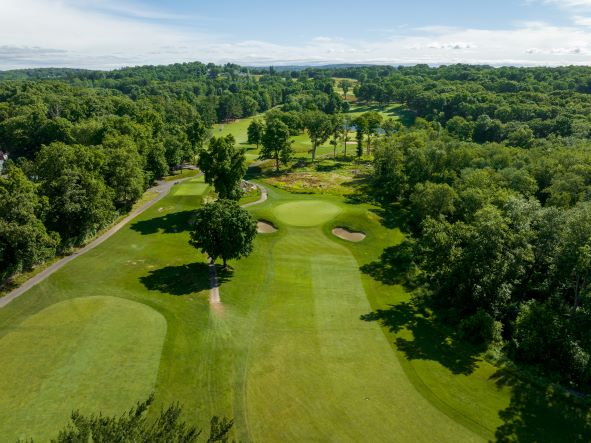
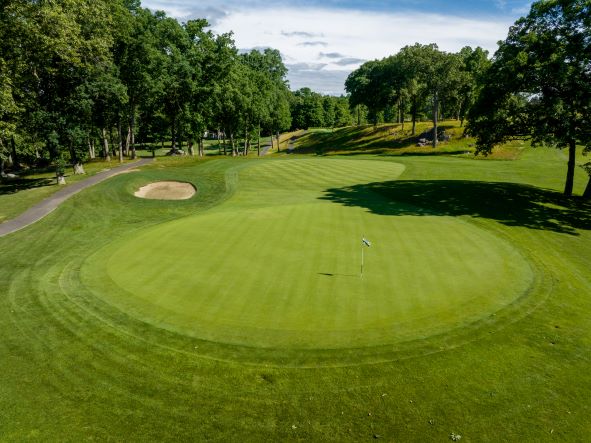
Following the short Par 5, 9th hole, Ross presents a demanding 10th that is set up on the tee shot. The fairway narrows as it gets to the green and a shot that lands in the rough will be difficult to get to a green that is situated some 50 ft uphill. The punchbowl green receives most shots well, but a ball that rolls through the green into the rough will be tough to stop coming back to the pin.
Hole #11 Yardages
|
Black
BlueWhite Green Gold |
364 355 347 293 293 |
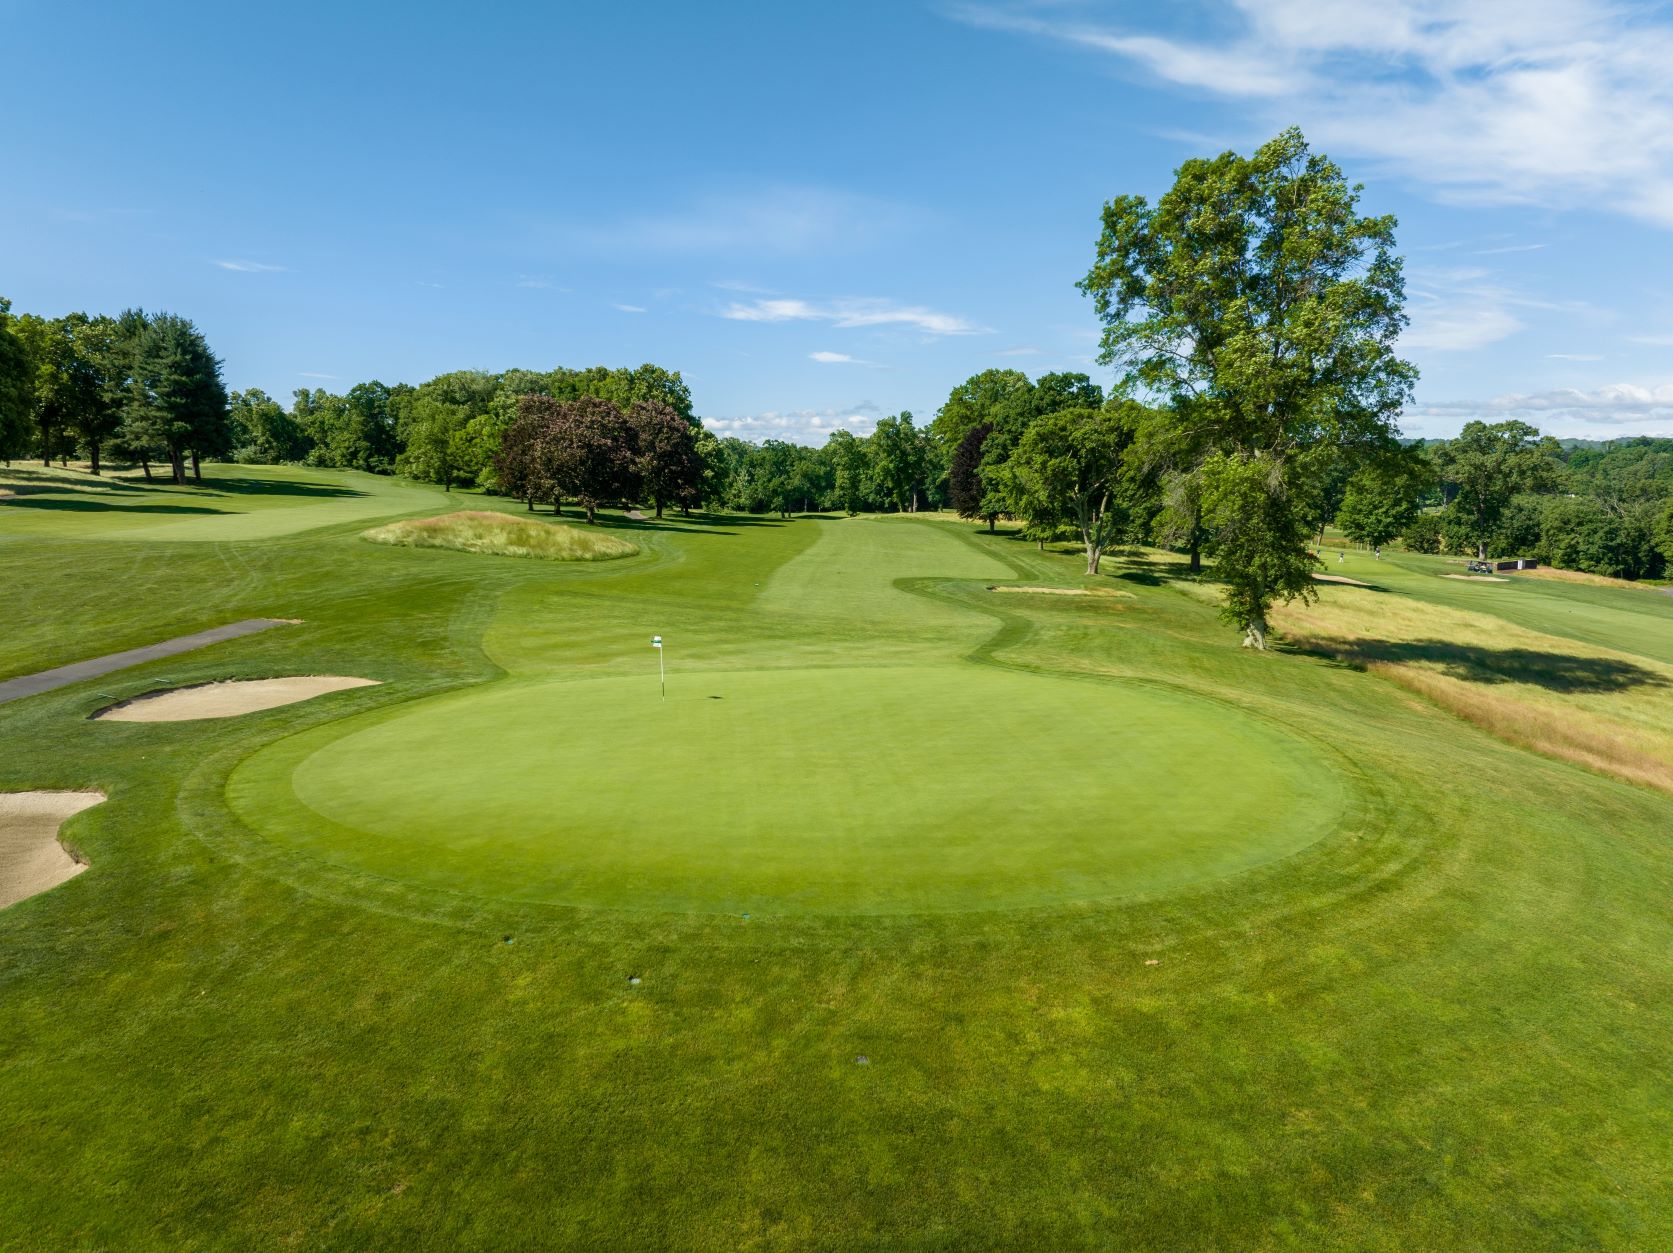
The 11th hole is a short dogleg right. A low handicap player will usually hit 3 or 5 wood off the tee. The second shot presents a bit of a challenge as the fairway slopes away from you to a downhill green. Keep your head down on your second shot and your likely to come away with par.
Hole #12 Yardages
|
Black
BlueWhite Green Gold |
187 179 165 160 133 |
This mid-range Par 3 is a hole that presents little challenges except your depth perception. You must trust your yardage, but beware of the subtle wind that can put your ball in either of the two bunkers that flank the green.
Hole #13 Yardages
|
Black
BlueWhite Green Gold |
427 395 356 325 325 |
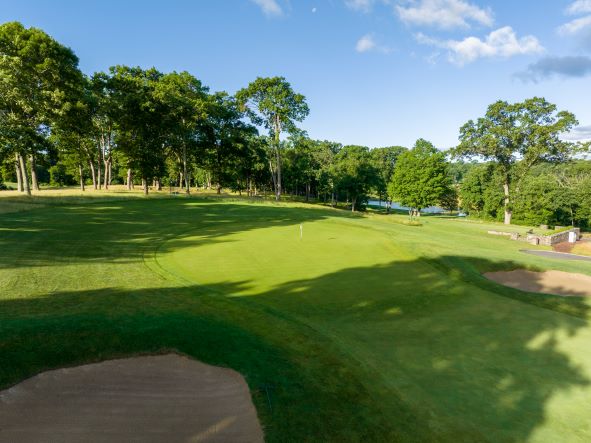
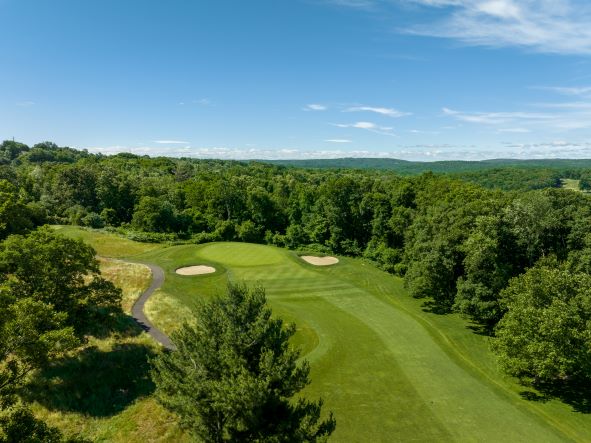
The 13th is the only tee shot over water which can wreak havoc mentally on the high handicapper. Once over the water, the placement of the tee shot is key. Too far right and you will have a long approach to the green that could be blocked by a large specimen oak tree. Too far left and you will cross the lateral hazard that runs up the left side. The green has a uphill approach and false front that leaves players throwing their arms up in disgust as their ball rolls 40 yards away from the green.

Hole #14 Yardages
|
Black
BlueWhite Green Gold |
234 226 212 175 175 |
The 14th is the longest Par 3 on the course. The average golfer tends to swing harder on this hole just to get the ball to the green, but an errant tee shot will almost guarantee a bogey or double bogey.
Hole #15 Yardages
|
Black
BlueWhite Green Gold |
427 427 399 387 387 |
The number 2 handicap hole has a blind tee shot to an uphill green. A slight fade off the tee will put you in the trees on the right and it will be tough to make par from there. The mid to long iron second shot to a green that has a steep drop off on the left and two bunkers on the right will test your iron play.

Hole #16 Yardages
|
Black
BlueWhite Green Gold |
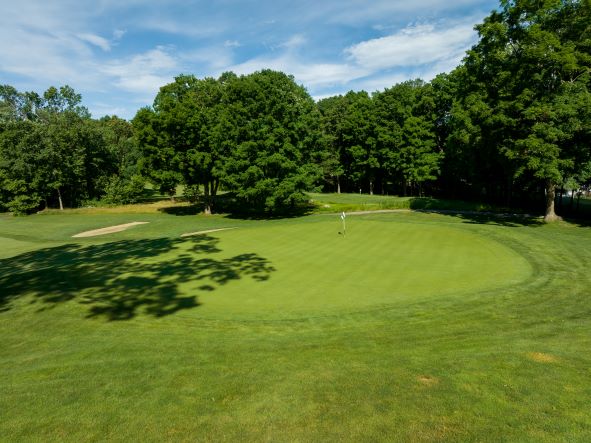
369 369 351 343 343 |
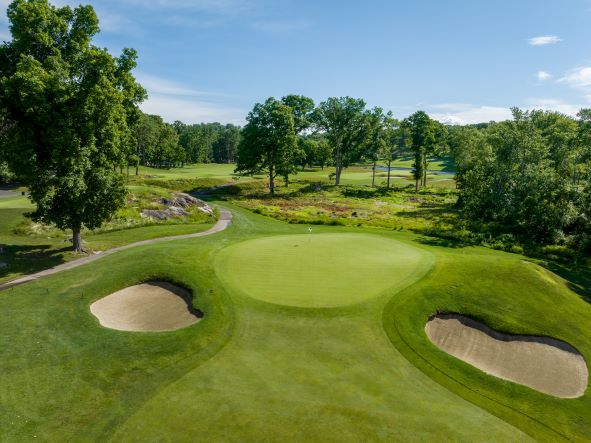
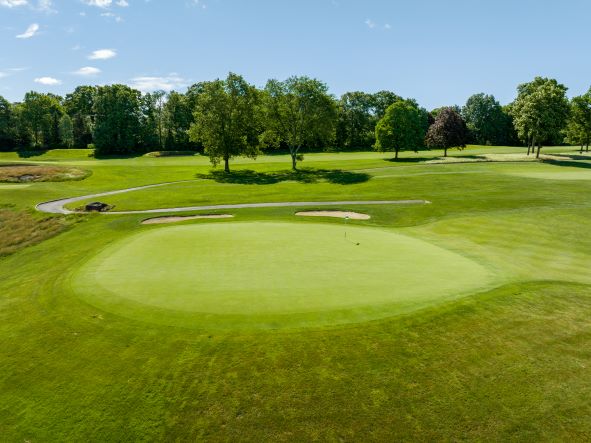
A short Par 4 that slightly bends to the left, the 16th is a hole that you just want to get your Par and get out. The somewhat blind uphill shot to a green with a severe drop-off in the back leads golfers to club down in order to keep the ball from going over the green. These shots end up in the approach which requires a good short game to get up and down for Par.
Hole #17 Yardages
|
Black
BlueWhite Green Gold |
402 374 360 349 349 |
Another blind tee shot, the 17th is a slight downhill Par 4. A tee shot that lands on the right center of the fairway is your best chance for Par here. The green also has a severe drop-off in the back, but unlike #16, this entire green is right in front of you. The large greenside bunker on the left swallows up many balls, but par is a must with the tough 18th to follow.
Hole #18 Yardages
|
Black
BlueWhite Green Gold |
445 424 404 394 394 |
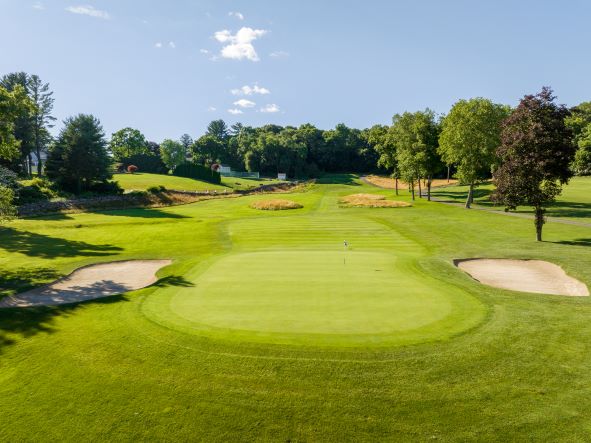
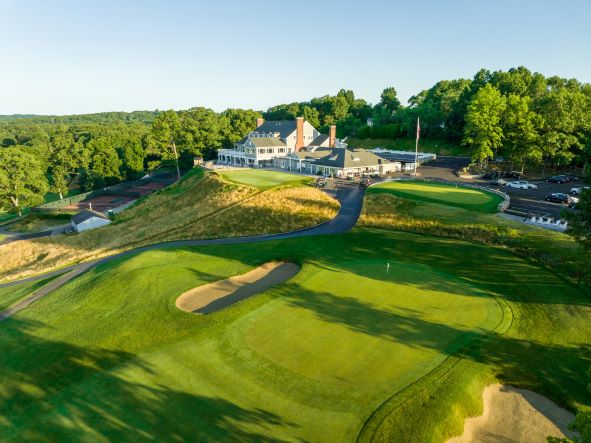
The 18th hole is one of the best finishing holes in the state of Connecticut. It is crucial that your tee shot hit the fairway here to have any chance at par. The long second shot to an uphill green requires stamina and accuracy on what is likely your last full swing of the day. The two tier green with false front is also flanked by two bunkers.